We have the following scenario: Server A runs a web server with phpMyaAmin, which connects to Server B. In this case we are using Debian packages, so Server A is assumed to be running Debian, Ubuntu, Mint or another Debian derivative.
Server B is the MySQL server with all databases including the database for phpMyAdmin.
If you are installing phpMyAdmin for the first time on Server A, select “No” when asked “Configure database for phpmyadmin with dbconfig-common?“:
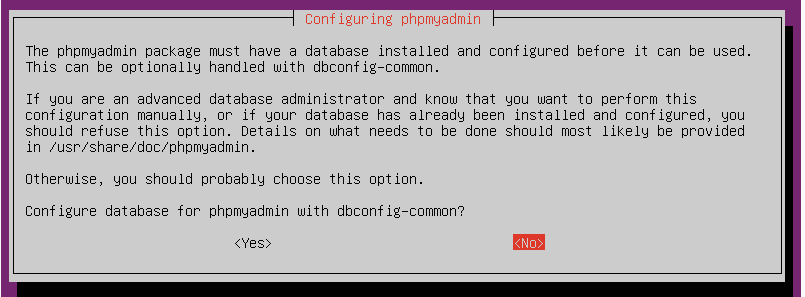
The above assumes that the phpMyAdmin database is on the localhost. We will run the dbconfig-common package manually to reconfigure that.
Regardless if you just installed phpMyAdmin and selected “No” on the above question, or you have a prior installation of phpMyAdmin that you would like now to connect to a remote server, run the dbconfig-common package:
sudo dpkg-reconfigure dbconfig-common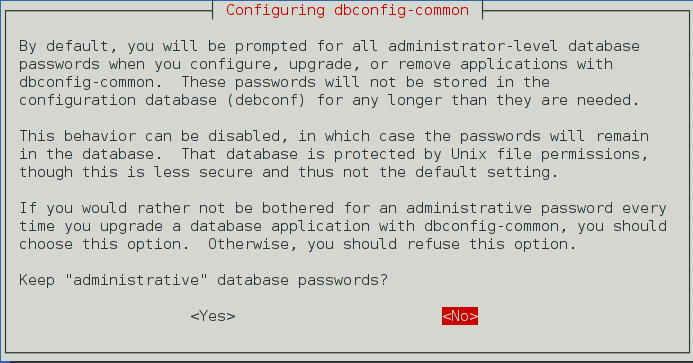
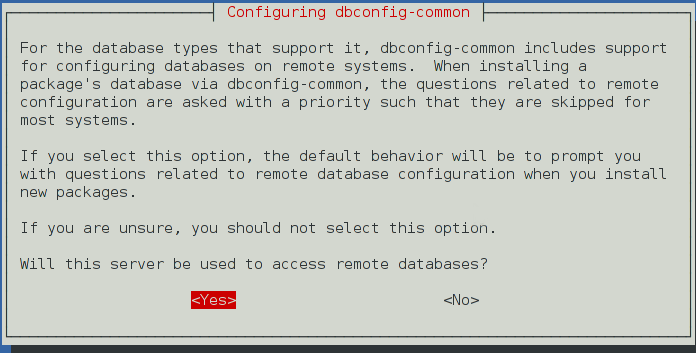
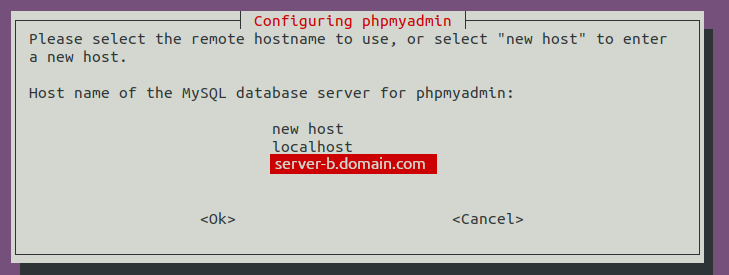
Now we can reconfigure phpMyAdmin and specify the remote server name among other things. A couple of things to consider before starting:
- The remote database server should be reachable from Server A, that includes MySQL server, which should be accessible from this host. By default MySQL only listens to localhost, so make sure it is configured correctly.
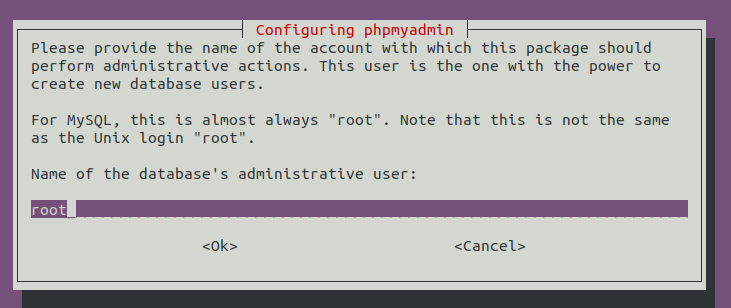
- We will need a user on the remote MySQL server with full rights. This user will be used to drop an existent phpmyamdmin database, create a new one as well create an owner user of the new phpmyamdmin db. Very often the root user is used, but it could be any other user with full rights. This user must be able to login from this remote server (ServerA).
- We will be asked about what user will be the phpmyadmin owner. That user will only have rights to the phpmyadmin db and only be used by this phpmyadmin installation, so no need to bother ourselves with setting a password to remember. We can just leave the password blank and the package will create one randomly. That password will be saved in /etc/dbconfig-common/phpmyadmin.conf if you ever need to(highly unlikely) reference it.
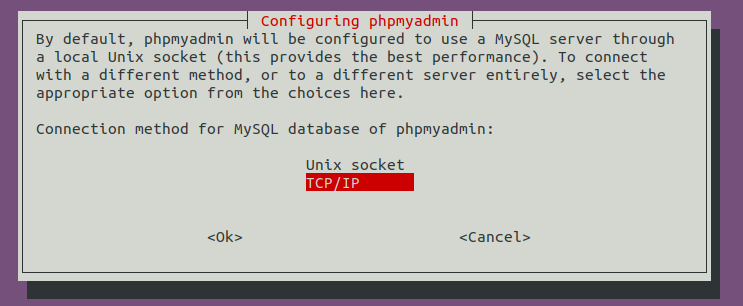
sudo dpkg-reconfigure phpmyadmin



Restart apache:
sudo systemctl restart apache2You can now browse to the phpMyAdmin site and login.
All the above configuration is written in the /etc/dbconfig-common/phpmyadmin.conf and /etc/phpmyadmin/config-db.php config files. The config-db.php should not be edited manually, as it gets overwritten. If you change the phpmyadmin.conf file, you need to run “dpkg-reconfigure phpmyadmin” again.
Add additional remote MySQL servers for phpMyAdmin to connect to
The file /etc/phpmyadmin/config-db.php, we created above, holds the configuration of the default MySQL db server we are connecting to. But we can add more servers to connect to, which will give us a drop down in the phpMyAdmin login screen, where we can pick what server to connect to.
If you look at the end of the /etc/phpmyadmin/config.inc.php and you will find the following code:
/* Support additional configurations */
foreach (glob('/etc/phpmyadmin/conf.d/*.php') as $filename)
{
    include($filename);
}
That means that if we add another file in /etc/phpmyadmin/conf.d directory and we name it ending with .php, that file will be read as well.
So, we can add a file called server-c.inc.php in that above directory with the following content. Make sure to increment the “i” variable at the end of the file, so this configuration does not get overwritten if we add another config file in this directory in the future.
$cfg['Servers'][$i]['verbose'] = 'Remote Server C';
$cfg['Servers'][$i]['auth_type'] = 'cookie';
$cfg['Servers'][$i]['host'] = 'server-c.domain.com';
$cfg['Servers'][$i]['port'] = '3306';
$cfg['Servers'][$i]['connect_type'] = 'tcp';
$cfg['Servers'][$i]['extension'] = 'mysqli';
$cfg['Servers'][$i]['AllowNoPassword'] = false;
$cfg['Servers'][$i]['controluser'] = phpmyadmin_dbuser;
$cfg['Servers'][$i]['controlpass'] = phpmyadmin_dbuser_pass;
$i++;
You can add other advanced settings in this file. See reference for more options: https://docs.phpmyadmin.net/en/latest/config.html#server-connection-settings